Ah winter! I really enjoy the break I get here in Alberta when nighttime freezing comes and we have to shut down curbing operations.
Unfortunately winter is pretty much over this year and I’ve still not finished cleaning the equipment in preparation for the season start up in about three weeks! Yikes! It feels like all I’ve done all winter is clean equipment. It is simply the most brain numbing TEDIOUS work that can be found.
I have not found any magic bullet/s for cleaning concrete off my equipment. In this article I am outlining my routine. I’ve been doing this for 17 years, and I’m still learning. I’ve searched the Internet for advice, but it’s hard to come by. Demo videos of some seeming amazing products prove disappointing when you actually try what is advocated. That’s why I’m posting this blog. If anyone out there has more suggestions, please drop a comment or some links into this blog. I would appreciate it!
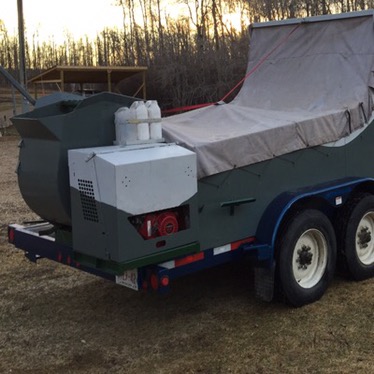
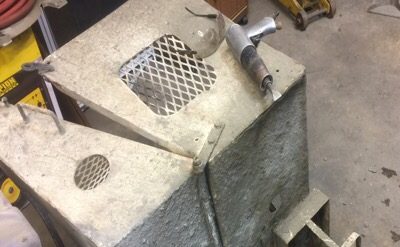
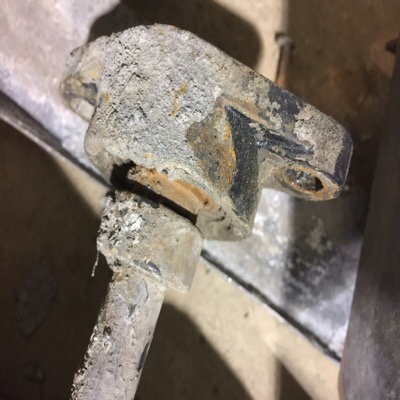
I spend a great great deal of my winter months cleaning and overhauling equipment. I suppose I do let it get quite dirty with concrete gunk and hardened buildup. We are constantly go go going all summer, doing 2-5 stops in a typical day. Washing up properly is sometimes impossible because we have to avoid getting cement residue into the storm drains, as that potentially poisons the fish in the river. So the gunk in the extruder, mixer and wagon gets really bad. A quarter inch or more buildup in places us normal that dies not come off u mere washing !
The most difficult cleaning challenge is getting the concrete buildup off or the machinery. When I complain about how hard it is, people routinely say I should just use acid. Well of course I use acid. But these people don’t realize that acid only takes off a very thin layer at a time If you want to get a mixer barrel clean, much more radical measures are called for. The concrete can be built up an inch thick, and just hitting it with a hammer is an exercise in frustration.
So here us my protocol/ list of weapons in the war on cement gunk.
Step 1: A very thorough and HARD pressure washing. This gets the dirt off and lets you see where you really need to focus the heavy artillery. I do it at the local truck wash. On machines you need to get the greasy cementy mess off this way if you can. If it hasn’t been there a long time, you can rip off hunks of stuck cement. But you can also pull the paint off your equipment too.
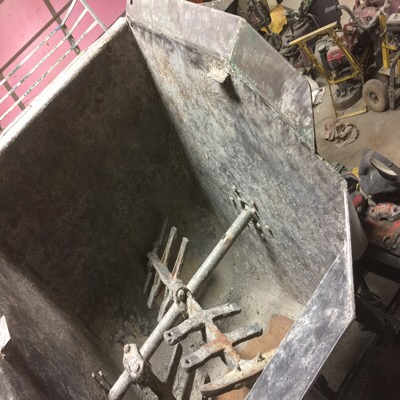
Step 2: the Heavy Air chisel. The cheap little ones are too weak for steady work. you will get frustrated by the lack of power. I end up using a chisel about an inch wide. This takes a lot if time when you are dealing with many surfaces, but that’s the miserable reality.
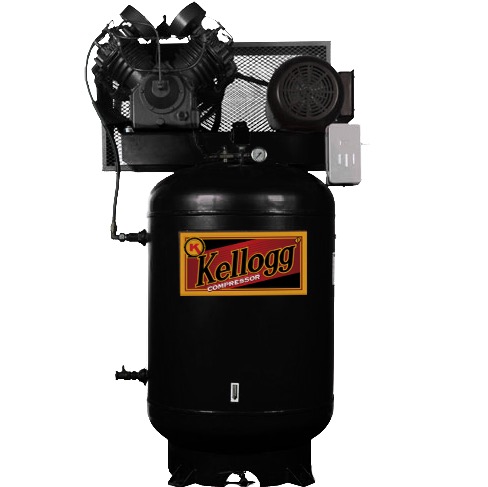
I guess I should mention I’ve got a 5 hp two cylinder air compressor. I forgot the exact cfm. It’s about 5′ tall. You need at least that to do the smount of chipping and blasting I’m suggesting.
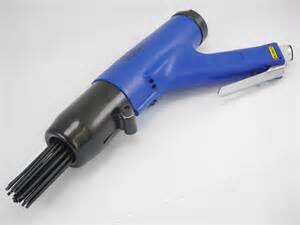
Step 3: an air powered needle scaler. This is a great tool. It gets into tight corners and curvy surfaces. It peels back a layer of gunk about 1/8″ thick.
Step 4: A strong grinder with wire wheel. I use the cone type wheel. This gets off small bits left after the chipping and scaling.
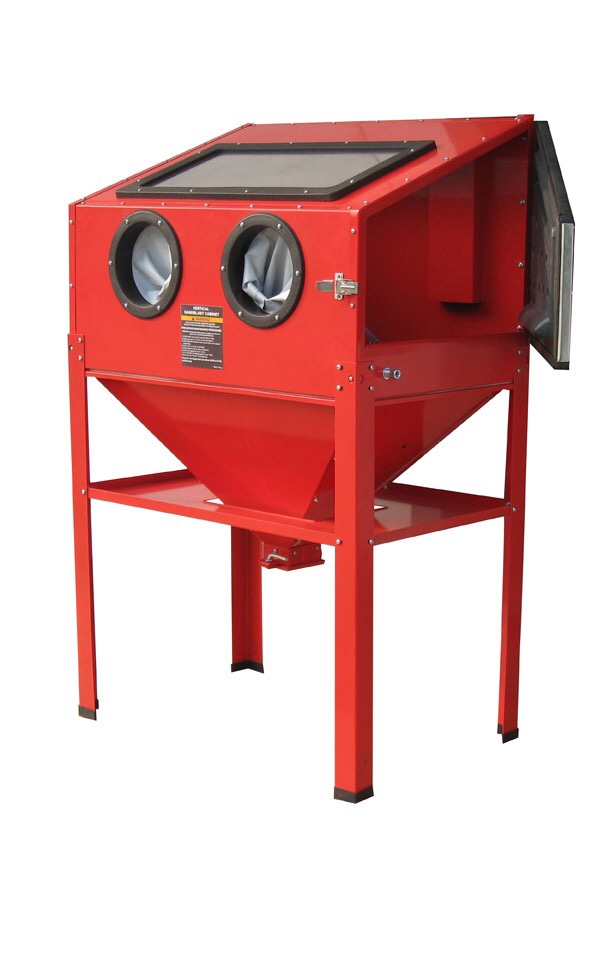
Step 5 SMALL PARTS- only. Sandblasting cabinet. This gets stuff clean! But plan on repainting.
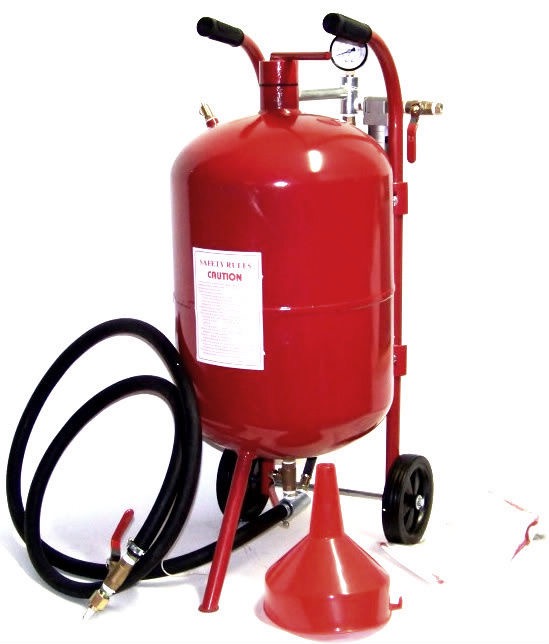
Step 6 Spot sand blasting. I got myself one of these smaller tank type blasting units. It’s great if you have a place outdoors where you can do sandblasting. They go through a lot of sand in a hurry. But you do want to do your chipping and scaling first unless you have really serious sandblasting equipment. (in that case you wouldn’t be reading this article anyway, because you just don’t have this problem.)
Step 7. Acid or bio wash. Lots of people say: “why not just use acid?” well , they haven’t used it then. Acid only takes off a very thin layer of scum at a time. It is NOT a magic bullet. The bio wash products are not as powerful as acid but they are easier on the environment and your skin. Muriatic acid is available in many home improvement stores. It is about as strong an acid as you want to use anyway. Use it undiluted. Wear PPE! Acid fumes especially are dangerous so ONLY do this outdoors wearing appropriate PPE.
Step 8: Repaint as needed . All that chipping, scaling and wire brushing and acid takes its toll on the paint. I’m finding that a better quality epoxy paint to start with , repels cement and is worth every bit of extra cost and effort. The cheap solvent paints like tremclad seem to make a great soft fuzzy primer coat perfect for permanently bonding cement to steel!
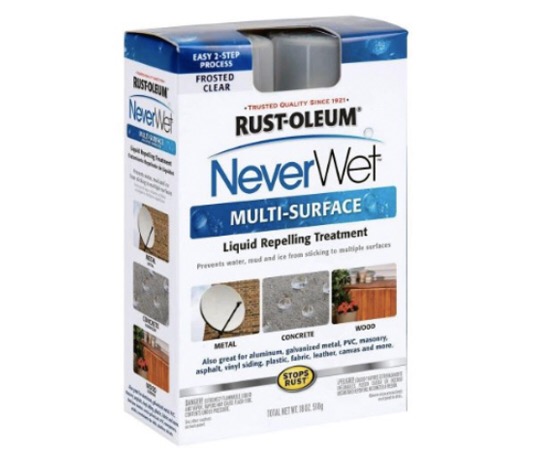
Step 9: Treat key areas with hydrophobic paint. This stuff isn’t as great as the ads bragging about it, but will repel dirty scum for a couple or four weeks until abrasion wears it away. It leaves a whitish film but who cares? It doesn’t last all that well, and dirt will take over soon enough, but you have bought some dirt free time.
Step 10 Wax. Real quality automotive wax. This might help reduce the amount of cement stuck to the equipment in the first place .
Again- if you can educate me out if your own experience, please do! Just don’t post stuff if it’s just a theory. I want to hear real life stories and answers from people who have struggled with this the way I have.
Comments are closed.